Introduction
Hey there, happy birthday to your water softener! It’s been faithfully softening your water for a whole year, but suddenly, you notice something amiss – it’s overflowing. Now, this isn’t the kind of surprise party you were expecting.
Let’s explore ‘why is my water softener overflowing’ and what you can do about it. It’s like your water softener decided to throw a little waterworks party of its own!
How To Tell if A Water Softener is Overflowing
Water Flow Out Of The Overflow Line
Imagine this: you stroll into your utility room, and instead of the usual calm hum of your water softener doing its job, you’re met with a gushing stream of water pouring out of the overflow line.
It’s like your water softener is staging its version of a water ballet, but you didn’t sign up for front-row seats. If you see this happening, it’s a clear sign that something’s not quite right in the water softening world.
Low Water Pressure
Picture this scene: you turn on the tap, expecting a refreshing burst of water, but all you get is a lackluster trickle. Low water pressure throughout your home can be a subtle but telling indicator that your water softener is staging a silent protest, causing more trouble than solutions.
So, if your morning shower feels more like a misty drizzle, your water softener might be the culprit.
Constant Rushing Water
Hearing the sound of running water during your softener’s backwash cycle is a common occurrence. This indicates that the brine is flowing through the mineral tank and getting expelled from the system.
It’s like having a 24/7 waterfall soundtrack in your home – charming for a nature documentary, not so much for your utility bills.
There you have it – the water softener SOS signals. Keep an eye (and ear) out for these signs to catch any overflow drama before it turns into a full-blown aquatic catastrophe.
What To Do If Your Water Softener Is Overflowing
So, your water softener has decided to throw a surprise water party, and you’re left wondering how to bring things back to order. Don’t panic; we’ve got a roadmap to help you navigate through the aquatic chaos.
First things first – let’s stop the waterworks.
Turn Off the Water Supply: Locate the water shut-off valve connected to your water softener. It’s usually situated near the unit or along the water line leading to it. Give it a gentle twist to the off position. This step is crucial to prevent further flooding and ensure a dry cleanup.
Assess the Situation: Take a moment to observe the extent of the water softener overflow. Is it a minor spill or a full-blown water feature? Understanding the severity will guide your next steps.
Inspect the Overflow Line: Check the overflow line for any visible signs of damage, blockage, or disconnection. It’s the conduit through which excess water should exit, but if it’s compromised, you’ll need to address it.
Drain Excess Water: If there’s a significant amount of water around the unit, use a bucket or a wet/dry vacuum to remove excess water. This will make it easier to identify the source of the problem.
Now that you’ve stemmed the tide, let’s delve into fixing the root cause.
Causes Of An Overflowing Water Softener (And How To Resolve)
Now that you’ve managed to halt the aquatic spectacle, let’s delve into the possible reasons behind your water softener’s sudden rebellious streak and how to coax it back to good behavior.
Clogged Drain Line
How To Resolve
A clogged drain line is like a traffic jam in your water softening system. Here’s a step-by-step guide to getting water flowing smoothly again:
Disconnect Power: Ensure safety first by turning off the power to your water softener.
Locate the Drain Line: Identify the drain line – the one responsible for carrying away excess water. Disconnect it carefully.
Clear the Clog: Use a plumbing snake or a pipe cleaner to gently clear any obstructions. If the clog is stubborn, you might need to employ a bit more force.
Reconnect and Test: Once the drain line is clear, reconnect it securely. Turn the power back on and monitor your water softener for any signs of overflow. Smooth sailing? Great!
Clogged Brine Line
How To Resolve?
A clogged brine line can throw a wrench into your water softener’s brine regeneration process. Let’s unclog it and bring back the harmony:
Power Off: As always, safety first. Power down your water softener to prevent any unexpected surprises.
Identify the Brine Line: Locate the brine line – the tube responsible for transporting brine during the regeneration cycle.
Flush with Warm Water: Carefully detach the brine line and flush it with warm water to dissolve and remove salt buildups. A gentle squeeze or using a small brush might help dislodge any stubborn deposits.
Reconnect and Test: Once you’re confident the brine line is clear, securely reconnect it. Power the water softener back on and observe its behavior. No more overflowing water softener tank? Excellent!
Faulty Control Valve
How To Resolve?
The control valve is the maestro orchestrating your water softener’s operations. If it’s not conducting the symphony properly, it’s time for a tune-up:
Power Down: You know the drill – turn off the power to your water softener.
Inspect the Control Valve: Examine the control valve for any visible damage, cracks, or irregularities. If it looks worse for wear, replacement might be necessary.
Check for Blockages: Sometimes, debris or sediment can obstruct the valve’s proper functioning. Clean any visible blockages carefully.
Professional Assistance: If the control valve appears beyond a DIY fix, it’s advisable to seek professional assistance. A technician can accurately diagnose the issue and recommend the best course of action.
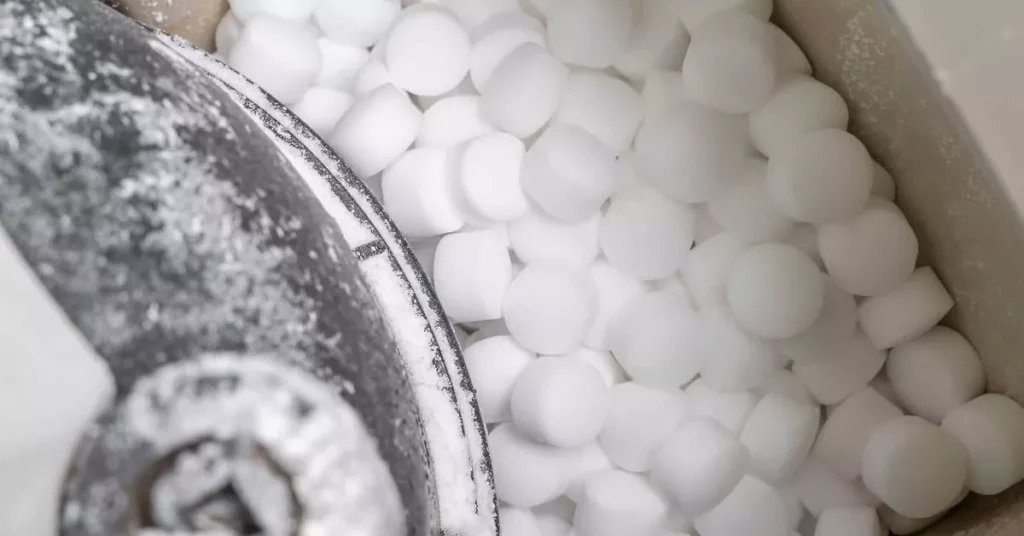
Salt Clogging In The Brine Tank
How To Resolve?
Picture your water softener’s brine tank as a spa for salt, but sometimes, things get a bit too cozy, leading to clogs and brine tank overflow. Here’s how to dissolve the tension:
Power Off: Turn off the power to your water softener to ensure a safe working environment.
Inspect the Water Softener Brine Tank: Take a peek inside the salt tank. If you see a solid mass or crusty layer of salt (a.k.a. a salt bridge), it’s time to break it up.
Break the Salt Bridge: Gently break up the salt bridge with a broom handle or a similar tool. This will encourage the salt to dissolve and mix with the water effectively.
Scoop Out Excess Salt: Remove any excess salt to prevent future bridges from forming. A clean brine tank is a happy brine tank.
Monitor and Adjust Salt Levels: Regularly monitor and adjust salt levels to prevent future clogs. An ounce of prevention is worth a pound of cure!
Detached Brine Line
How To Resolve?
Sometimes, components decide to go solo, and a detached brine line can disrupt the harmony of your water softener system. Let’s reconnect the dots:
Power Down: Begin by turning off the power to your water softener.
Locate the Brine Line: Identify the brine line, the tube responsible for carrying brine during the regeneration process.
Reconnect Securely: If you find the brine line detached, reconnect it securely. Ensure a snug fit to prevent future mishaps.
Inspect for Damage: While you’re at it, check the brine line for any signs of damage. If it looks worse for wear, consider replacing it to avoid future issues.
Power Up and Test: Once everything is back in place, power up your water softener and observe its behavior. No more unexpected water parties? Fantastic!
Faulty Or Detached Float Assembly
How To Resolve?
The float assembly is like the lifeguard of your water softener, ensuring water levels stay in check. If it’s on vacation, let’s bring it back:
Power Off: Begin by turning off the power to your water softener. Safety first!
Locate the Float Assembly: Identify the float assembly within the brine tank. It’s the device responsible for signaling when water levels are too high.
Reattach or Replace: If the float assembly is detached, reattach it securely. If it’s damaged, consider replacing it for optimal performance.
Monitor Operation: Power up your water softener and keep an eye on the float assembly’s operation. It should move freely and trigger the control valve appropriately.
Obstructed Brine Tank Injector (Venturi Valve)
How To Resolve?
The Venturi Valve might sound like a sci-fi term, but in the water softener world, it’s a vital component. If it’s obstructed, let’s clear the path:
Power Down: As always, turn off the power to your water softener for safety.
Locate the Injector (Venturi Valve): Identify the Venturi Valve, typically located near the brine tank. It’s responsible for drawing brine into the resin tank during regeneration.
Clean the Injector: Carefully remove any debris or mineral deposits from the injector. A small brush or compressed air can help clear obstructions.
Check Tubing and Connections: Ensure that tubing and connections associated with the Venturi Valve are secure and free from blockages.
Power Up and Observe: Once the Venturi Valve is clear, power up your water softener and observe its performance. No more unexpected water escapades? Perfect!
By addressing these potential culprits, you’re not just fixing the symptoms but ensuring your water softener operates smoothly for the long haul. It’s like giving your water softener a spa day – pampering it for its loyal service. Keep these maintenance tips in mind, and here’s to a future free of unexpected water features!
Conclusion
So, there you have it – the saga of your water softener’s unexpected aquatic adventures. From overflowing water to unruly components, we’ve unraveled the mystery and equipped you with the tools to restore order.
Remember, your water softener is like a loyal companion, and just like any relationship, it requires a bit of attention and care.
As you bid farewell to the waterworks and welcome back the tranquility of soft water, keep in mind the importance of regular check-ups and preventive measures.
A little TLC goes a long way in ensuring your water softener continues to be the unsung hero of your household.
Here’s to another year of smooth operations, soft water, and minimal surprises. May your water softener’s journey be as calm as the water it treats!
FAQ
Can I fix my water softener myself, or should I call a professional?
Depending on the issue, some fixes are DIY-friendly, as we’ve outlined in the guide. However, if you’re unsure or the problem seems complex, don’t hesitate to call in a professional for expert assistance.
Is it normal for there to be water accumulation in my water softener brine tank?
If you have a recently installed system with a dry brine tank design, standing water in the tank is not expected. The brine tank should only have water present an hour or two before and during the regeneration process, when water is introduced to mix with the salt, creating a brine solution.
On the other hand, a conventional wet brine tank will consistently have standing water, but it should not exceed the tank’s capacity to avoid overflow.
How often should I check my water softener?
Regular check-ups are key to preventing surprises. Aim for a quarterly inspection to ensure everything is running smoothly. It’s like giving your water softener a regular health check.
Why does salt bridge formation happen?
Salt bridges occur when salt solidifies, forming a crust in the brine tank. Regularly breaking up the salt and maintaining optimal salt levels prevent these bridges, ensuring your water softener functions seamlessly.
Can I prevent water softener issues from happening?
Absolutely! Regular maintenance, such as cleaning components, checking for blockages, and monitoring salt levels, goes a long way in preventing unexpected water softener hiccups. Think of it as giving your water softener the care it deserves.
What if the problem persists after troubleshooting?
If the issue persists or seems beyond your expertise, it’s time to bring in the professionals. A trained technician can diagnose the problem accurately and implement the necessary repairs, ensuring your water softener operates at its best.